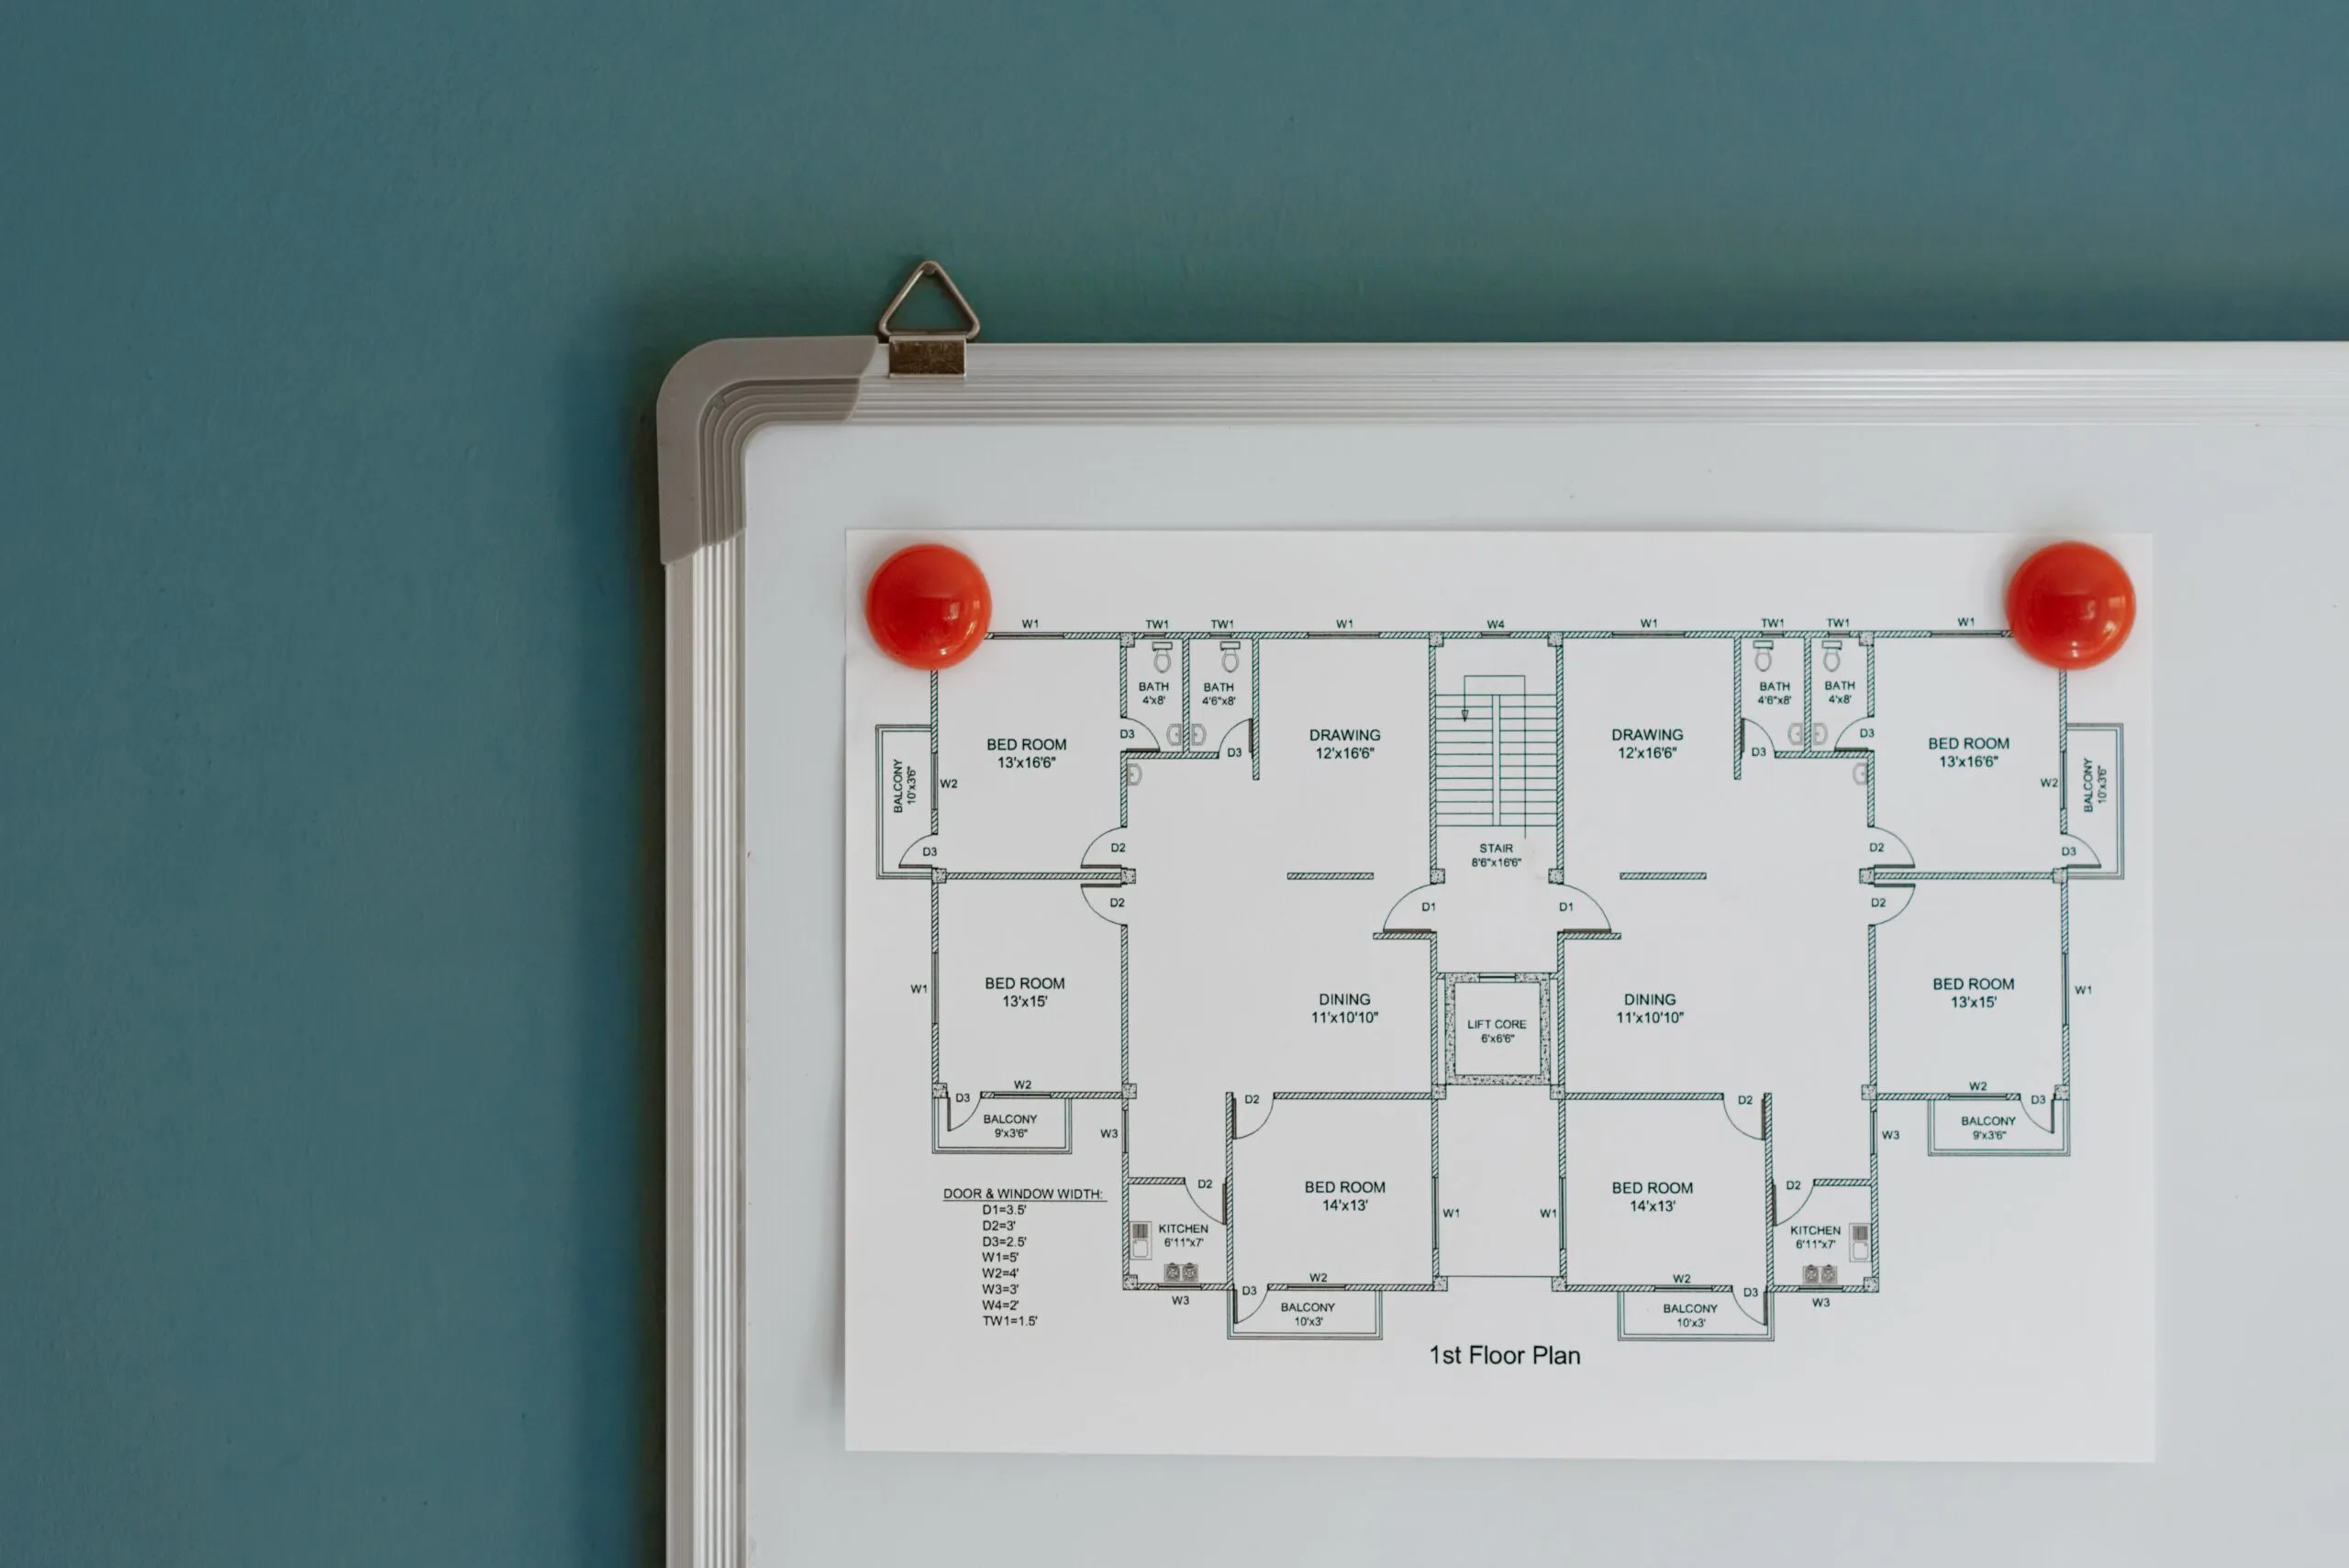
While working with AutoCAD, sometimes we need to insert external objects such as images. That is why in this blog post we will discuss how to insert an image in a AutoCAD template using the pyautocad module.
Setting up environment using pyautocad (Python)
As usual, we will set up our work environment to integrate Python and AutoCAD by importing the pyautocad module.
from pyautocad import Autocad, APoint, aDouble

acad = Autocad()
We can use a direct approach of integrating AutoCAD and Python using the pywin32 and pythoncom packages. A detailed introduction on using the same is discussed in a couple of previous blog posts in this pyautocad series of blog posts.
Adding image to AutoCAD template using AddRaster method
To add an image from our files we just have to use a method called AddRaster.
We have to use the AddRaster method against the template block and pass the image path and some other parameters.
The syntax for the AddRaster method is as follows:
object.AddRaster(ImageFileName, InsertionPoint, ScaleFactor, RotationAngle)Here, the Insertion point is a 3D array of doubles. The scale factor and rotational angle is set to 1 and 0 respectively by default.
We can change the values of scale factor and rotational angle to the values we want.
Let’s add the image using the AddRaster method.
ri = acad.model.AddRaster("C:\\Users\\91998\\OneDrive\\Desktop\\physics-science-school-blueprint-G35FEF.jpg", APoint(100, 100, 0), 1, 0)
As we can see from Figure 1 the image has been added. We can scale the image up or down by passing the parameter into the main command, or by using the scale method.
Properties of the raster image object
As with other AutoCAD objects, properties of the raster image can be fetched or changed.
Below I check out some of the properties of this image:
print(ri.Contrast)
print(ri.Fade)
print(ri.ImageFile)
print(round(ri.ImageHeight,2))
print(round(ri.ImageWidth,2))
print(ri.ImageVisibility)
print(ri.Rotation)
print(round(ri.ScaleFactor,2))

O/p:

50
0
C:\Users\91998\OneDrive\Desktop\raster.jpg
0.67
1.0
True
0.0
0.0
So this is how we can deal with the raster image object in AutoCAD using the pyautocad module.

Civil engineer interested in automation in core subjects such as civil, mechanical and electrical, using IT skills comprising cloud computing, devops, programming languages and databases along with the technical skills gained while working as a civil engineer since past 3 years.


1 comment
hello,
thanks for usefull informations. Is it possible to set the ClipBoundary by providing coordinate of a polygon ? could you show an example plz?